Drywall Repair Before Painting: Why It Makes a Big Difference

Key Points:
- Drywall repair before painting creates smooth, professional-looking walls that paint adheres to properly
- Proper patching and spackling can account for 20-30% of a professional paint job's preparation time
- Skipping drywall repair leads to visible imperfections that stand out after painting and shorten paint lifespan
- Different hole sizes require different repair materials and techniques for best results
- Water damage and previous repairs must be addressed before painting to prevent failure
- Professional drywall prep includes filling, sanding, priming, and final inspection
- Quality drywall repair makes cheaper paint look expensive; poor repair makes expensive paint look cheap
- WHOA Paintings includes comprehensive drywall repair in all interior painting projects throughout Florida and Tennessee
Here's something that separates a paint job that looks okay from one that looks absolutely professional: drywall repair before painting. It might not sound like the most exciting part of a paint project, but I'm telling you, it makes a huge difference in how your finished walls look.
Think about it: you can have the most beautiful paint color, perfectly applied, but if there are visible dings, gaps, or poorly repaired holes behind it, the whole room looks unfinished. Conversely, a well-prepared wall with expert drywall repair looks polished and professional even with mid-range paint.
Let's talk about why drywall repair before painting matters so much, what you need to know about doing it right, and how to get results that actually look good.
What Is Drywall Repair and Why Does It Matter?
Drywall repair is the process of fixing holes, cracks, dings, and damage in your walls so they're smooth and ready for paint. It sounds simple, but it's actually a skill that takes practice to do well.
Common drywall damage includes:
Small nail holes and picture hangers: From years of hanging art, mirrors, and shelves.
Dents and dings: From furniture, doors, or general bumps and impacts.
Cracks: From settling, temperature changes, or structural movement.
Larger holes: From doorknobs, accidents, or previous repairs that failed.
Water damage: From leaks, condensation, or previous moisture issues.
Patched areas that didn't stick: Previous homeowners' repair attempts that didn't adhere properly.
Why does this matter? Because paint is thin. Really thin. Even if you use multiple coats of paint, it won't hide wall imperfections. In fact, paint sometimes makes imperfections more obvious because it creates different levels of light reflection on uneven surfaces.
A properly prepared wall—one with excellent drywall repair—looks smooth and intentional under paint. A poorly prepped wall looks amateurish no matter how good your paint is.
The Drywall Repair Process: How Professionals Do It
Okay, so you've got walls that need repair before painting. Here's how professionals approach it:
Step 1: Assess the Damage
Before touching anything, a professional evaluates what needs fixing:
Minor damage: Small nail holes, light dings—these need spackling compound.
Moderate damage: Larger holes (fist-sized or bigger), significant cracks—these need joint compound and possibly mesh tape or patching material.
Significant damage: Large holes, water damage, structural issues—these may need drywall replacement, not just patching.
Water damage is a big deal. If walls have been wet (from leaks, condensation, or previous water damage), that damaged drywall needs to be cut out and replaced before painting. You can't just patch over water-damaged drywall because it's compromised and will continue to fail under paint.
Step 2: Prepare the Surface
Clean preparation is crucial:
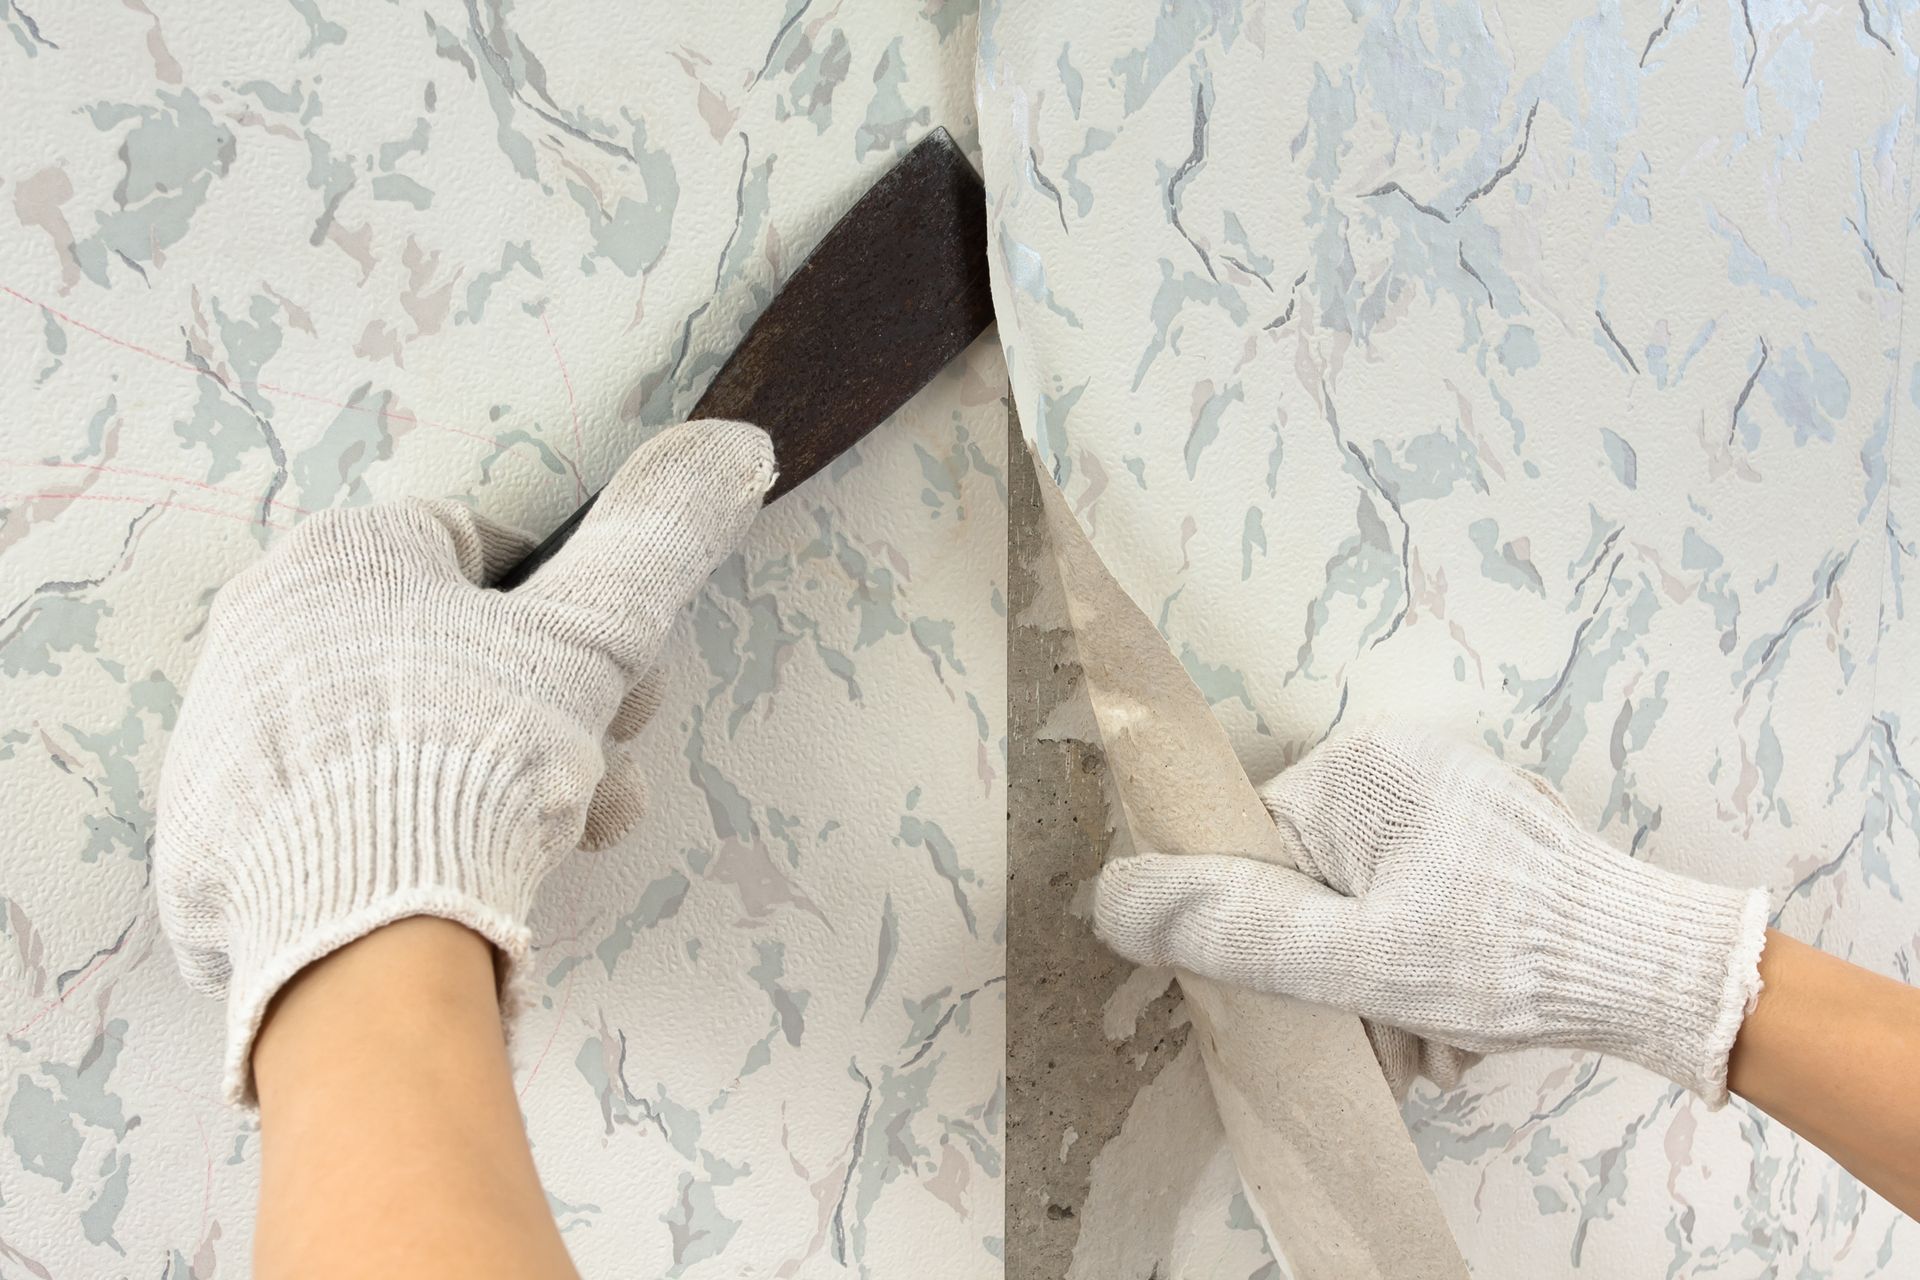
Remove loose material: Use a putty knife to scrape away any loose tape, compound, or paint around damaged areas. You want clean edges.
Sand rough edges: Lightly sand around the damage to create a smooth transition.
Vacuum or wipe clean: Remove all dust and debris. Spackling compound and joint compound don't adhere well to dust.
Step 3: Fill Small Holes (Spackling)
For nail holes and small dings, use spackling compound:
Application: Use a putty knife to press spackling compound firmly into the hole. Smooth it level with the wall surface.
Drying: Spackling dries quickly, usually within 1-2 hours.
Sanding: Once dry, lightly sand with fine-grit sandpaper (220-grit or higher) until smooth.
A pro tip: Many people apply spackling once and think they're done. Professional work often requires 2-3 coats because compound shrinks as it dries. Multiple thin coats look better than one thick coat.
Step 4: Fill Larger Holes (Joint Compound and Patching)
For larger holes, professionals use a different approach:
Small holes (penny to quarter-sized): Use self-adhesive mesh tape, apply joint compound over the tape in thin coats (typically 3 coats), let each coat dry, sand between coats.
Medium holes (baseball to orange-sized): Cut out clean edges, install a patch (either a drywall patch kit or professional-grade patch material), tape the edges, apply joint compound in multiple coats, sand smooth.
Large holes (bigger than a fist): Cut out the damaged area, install new drywall, tape and mud the seams, apply multiple coats of joint compound, sand thoroughly.
Each of these methods requires specific materials and technique. Done wrong, patches show through paint or fail within months. Done right, they're invisible under paint.
Step 5: Prime Before Painting
Here's something many DIYers miss: primer is essential after drywall repair.
Spackling compound and joint compound are porous and absorb paint differently than painted drywall. If you paint directly over patched areas without primer, the paint soaks in unevenly, creating visible dull spots or blotches that stand out against the rest of the wall.
A primer-sealer designed for drywall creates a uniform surface so topcoat paint adheres evenly everywhere.
Step 6: Final Inspection and Touch-Up
A professional walks the room with raking light (light coming across the surface at an angle) to spot any imperfections that need attention. Small missed spots get additional spackling, sanding, and primer. This attention to detail is what makes professional work look flawless.
Common Drywall Repair Mistakes to Avoid
If you're tempted to tackle drywall repair yourself before painting, here's what typically goes wrong:
Applying Compound Too Thick
Thick applications crack and shrink unevenly. Professional work builds up in multiple thin coats, not one giant glob.
Not Sanding Between Coats
If you don't sand between coats, new compound doesn't adhere well to the previous layer. You end up with repairs that don't stick properly.
Forgetting to Prime
This is huge. Unprimed spackling and joint compound create dull spots that no amount of paint coats will hide.
Using the Wrong Materials
Not all patching materials are created equal. Cheap spackling from the dollar store doesn't work as well as quality products. Professional-grade materials are worth the extra cost.
Poor Taping Technique
If mesh tape doesn't adhere properly or wrinkles, it telegraphs through paint. Professionals know how to apply tape so it sits flat and sticks.
Not Addressing Underlying Issues
If a wall has water damage, a crack from settling, or other structural issues, just patching over it won't solve the problem. The damage will get worse and repairs will fail.
Why Professional Drywall Repair Makes a Difference
You might think drywall repair is simple enough to DIY. And technically, you can slap some spackling in holes. But there's a big difference between "filled a hole" and "professionally repaired drywall."
Professional drywall repair takes time and skill:
Assessment: Knowing what needs fixing versus what doesn't, identifying underlying issues.
Material selection: Choosing the right compound for each situation.
Technique: Proper application methods that create smooth, lasting results.
Attention to detail: Using raking light to find imperfections most people miss.
Experience: Having done hundreds of repairs, professionals know tricks and techniques that make results look flawless.
When professionals at WHOA Paintings prepare interior walls for painting, we're not just quickly filling holes. We're creating a canvas that paint will look beautiful on.
Drywall Repair in Florida and Tennessee Homes
Different climates create different drywall challenges:
Florida Issues
Humidity: Florida's moisture can cause drywall to warp, bubble, or separate from studs. Repairs must account for humidity resistance.
Mold: If you've had moisture problems, check repaired areas for mold before painting. Humidity-resistant joint compound helps prevent regrowth.
Salt air (coastal areas): Salt deposits can affect drywall and repairs. Thorough cleaning before repair is essential.
Temperature swings: Air conditioning contrasted with heat outside can cause expansion and contraction that stresses repairs.
Tennessee Considerations
Seasonal humidity swings: Summer humidity followed by drier winters can cause drywall movement and cracking.
Pollen and dust: These stick to walls and need cleaning before repair for compound to adhere.
Temperature fluctuations: Freeze-thaw cycles can stress drywall and previous repairs.
Older homes: Many Tennessee homes are older with plaster instead of drywall, requiring different repair techniques.
The Cost of Drywall Repair Before Painting
Here's what you should expect:
Small repairs (nail holes, minor dings): Included in most professional painting quotes; adds minimal cost.
Moderate repairs (several larger holes, light cracks): Typically adds $100-$400 depending on extent.
Extensive repairs (significant damage, water damage, multiple large holes): Can add $500-$2,000+ depending on how much needs fixing.
Drywall replacement: If water damage or large areas of damage require replacing drywall sections, costs are higher but necessary.
The cost is worth it because proper repairs make your paint job look professional and last longer. A room with excellent drywall prep and average paint looks better than a room with poor prep and expensive paint.
DIY vs. Professional Drywall Repair
Can you repair drywall yourself? Sure. Should you? That depends on the damage and your patience level.
Good for DIY:
- A few small nail holes
- Light cosmetic dings
- You have time to learn and practice
Better for professionals:
- Multiple repairs or larger damage
- Water damage or structural issues
- You want results fast
- You want it to look flawless
- You care how the finished room looks
Remember, if you're already paying for professional interior painting, adding professional drywall repair to that project is relatively inexpensive. But poor drywall prep can undermine excellent painting. It's worth getting it right.
FAQs About Pressure Washing Before Painting
How long before painting should you pressure wash?
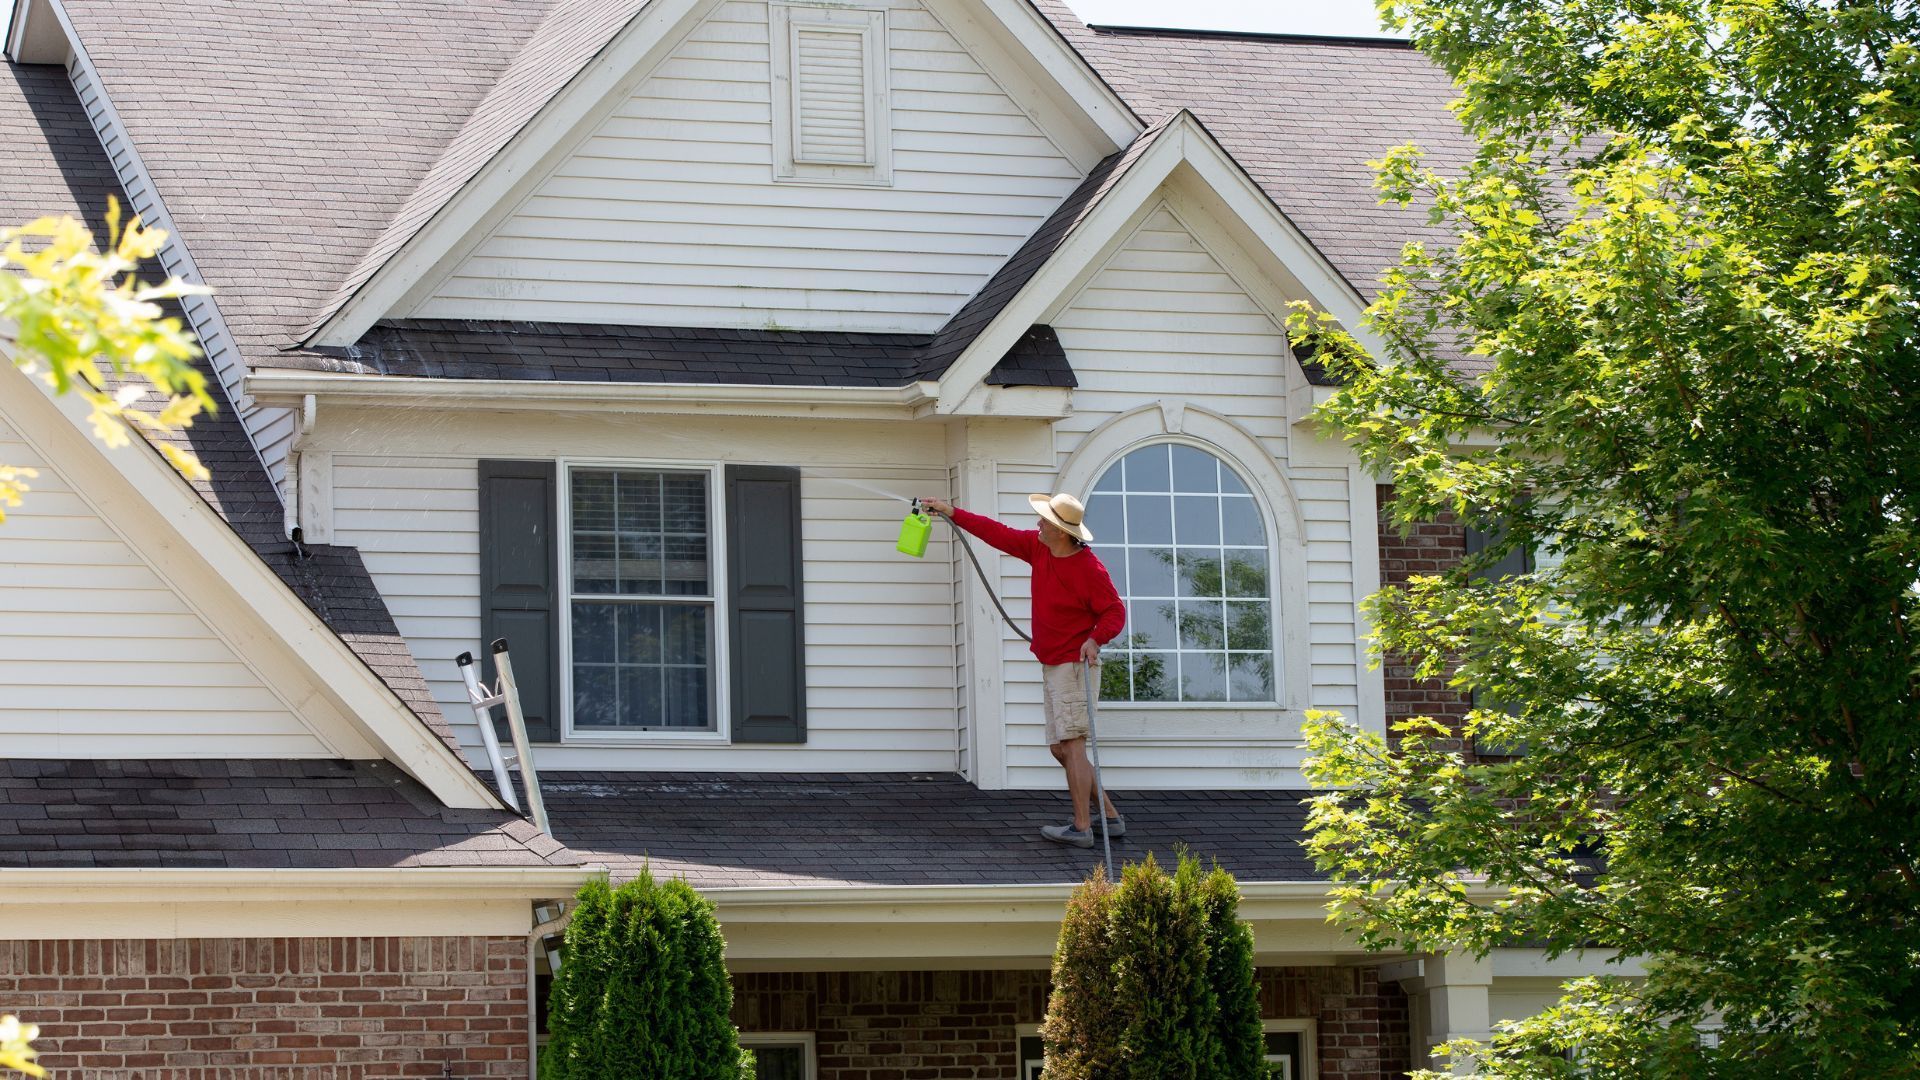
Pressure wash 24-48 hours before painting to allow surfaces to dry completely. Painting over damp surfaces causes adhesion problems and paint failure. The exact timing depends on weather—more time is better if humidity is high or temperatures are cool.
What PSI should you use for pressure washing before painting?
PSI depends on the surface material: vinyl siding (1,200-1,500 PSI), wood (500-800 PSI), stucco (1,200-1,500 PSI), and concrete/brick (3,000-3,500 PSI). Using too much pressure damages surfaces; too little doesn't clean effectively. Professional equipment with adjustable PSI is ideal.
Can you paint immediately after pressure washing?
No. Surfaces must be completely dry before painting, typically 24-48 hours depending on humidity and temperature. Painting over damp surfaces causes peeling, bubbling, and paint failure. Patience here directly affects how long your paint lasts.
Does pressure washing remove paint?
Pressure washing can remove loose, peeling paint if done at appropriate PSI. High-pressure washing (over 3,000 PSI) on painted surfaces can strip paint you want to keep. Professionals know how to pressure wash to remove only loose paint while preserving sound paint underneath.
Should you use chemicals when pressure washing before painting?
Yes, for mold, mildew, and algae-covered surfaces. Pressure alone won't kill fungal growth; it just removes it temporarily. Using appropriate biodegradable cleaners kills mold spores and prevents rapid regrowth under your new paint.
Is pressure washing before painting necessary?
Absolutely. Pressure washing removes dirt, mold, loose paint, and other materials that prevent paint adhesion. Skipping this step is the primary cause of paint failure. It's not optional for a lasting paint job.
Can you pressure wash wood before painting?
Yes, but carefully. Use low PSI (500-800) with a wide spray pattern to avoid damaging wood. Pressure washing removes weathered surface, loose paint, and mold from wood while preparing it for new paint.
FAQs About WHOA Paintings
Does WHOA Paintings include pressure washing with exterior painting?
Yes! Proper pressure washing is part of our surface preparation process for all exterior painting projects. We include it in our comprehensive prep work to ensure paint lasts as long as possible.
Where does WHOA Paintings provide pressure washing and painting services?
We're licensed and insured in Florida and Tennessee, serving homeowners throughout both states with professional exterior painting and preparation services.
What languages does WHOA Paintings speak?
Our team speaks English, American Sign Language, Spanish, Haitian Creole, and Portuguese, ensuring clear communication with all our clients.
How much does pressure washing cost before painting?
Pressure washing typically costs $300-$800 depending on house size, surface material, and how heavily soiled surfaces are. We include it as part of our exterior painting service to ensure proper paint adhesion and longevity.
Can WHOA Paintings handle mold and mildew removal?
Yes! Our pressure washing process includes mold and mildew treatment, which is especially important in Florida's humid climate. We use appropriate cleaners and techniques to kill fungal growth before painting.
How do I schedule pressure washing and painting with WHOA Paintings?
Call or text us at 865-382-9880 to discuss your exterior painting project. We'll assess your home's surface condition and provide a detailed estimate that includes all surface preparation.
Protect Your Painting Investment with Proper Surface Prep
Pressure washing before painting isn't glamorous work, but it's absolutely foundational to a paint job that lasts. It removes the barriers to paint adhesion and ensures your expensive paint investment actually sticks around for 7-10 years instead of failing in 2-3.
Whether you're in humid Florida dealing with aggressive mold and mildew, or in Tennessee managing seasonal pollen and algae growth, proper pressure washing makes all the difference in how long your paint job performs.
The WHOA Paintings team knows that surface prep is where great paint jobs begin. We include thorough pressure washing, appropriate cleaners for your climate, proper drying time, and any necessary repairs as part of our comprehensive exterior painting service. We're licensed and insured throughout Florida and Tennessee, and we've handled thousands of exterior painting projects in both climates.
Ready to get an exterior painting job that lasts? Call or text us at 865-382-9880 to schedule your free consultation. We'll assess your home's surface condition and explain exactly what prep work is needed for a paint job you can trust. Serving homeowners throughout Florida and Tennessee with quality and expertise.
Disclaimer: The information provided on this blog is for general informational purposes only and should not be considered professional advice. While we strive to ensure that all content is accurate and up to date, no guarantees are made regarding its completeness or reliability. Readers are encouraged to seek professional guidance specific to their situation before making any decisions based on the information provided. The author and this blog disclaim any liability for actions taken or not taken based on the content herein.