Prep with Caulking & Sealants: The Foundation of Long-Lasting Paint Jobs

Key Points:
- Proper caulking and sealing is what separates amateur paint jobs from professional ones
- The right sealant choice can add years to your paint's lifespan
- Skipping prep work with caulking costs you way more money in the long run
- Different areas of your home require different types of caulk and sealants
- Professional application techniques make all the difference in durability
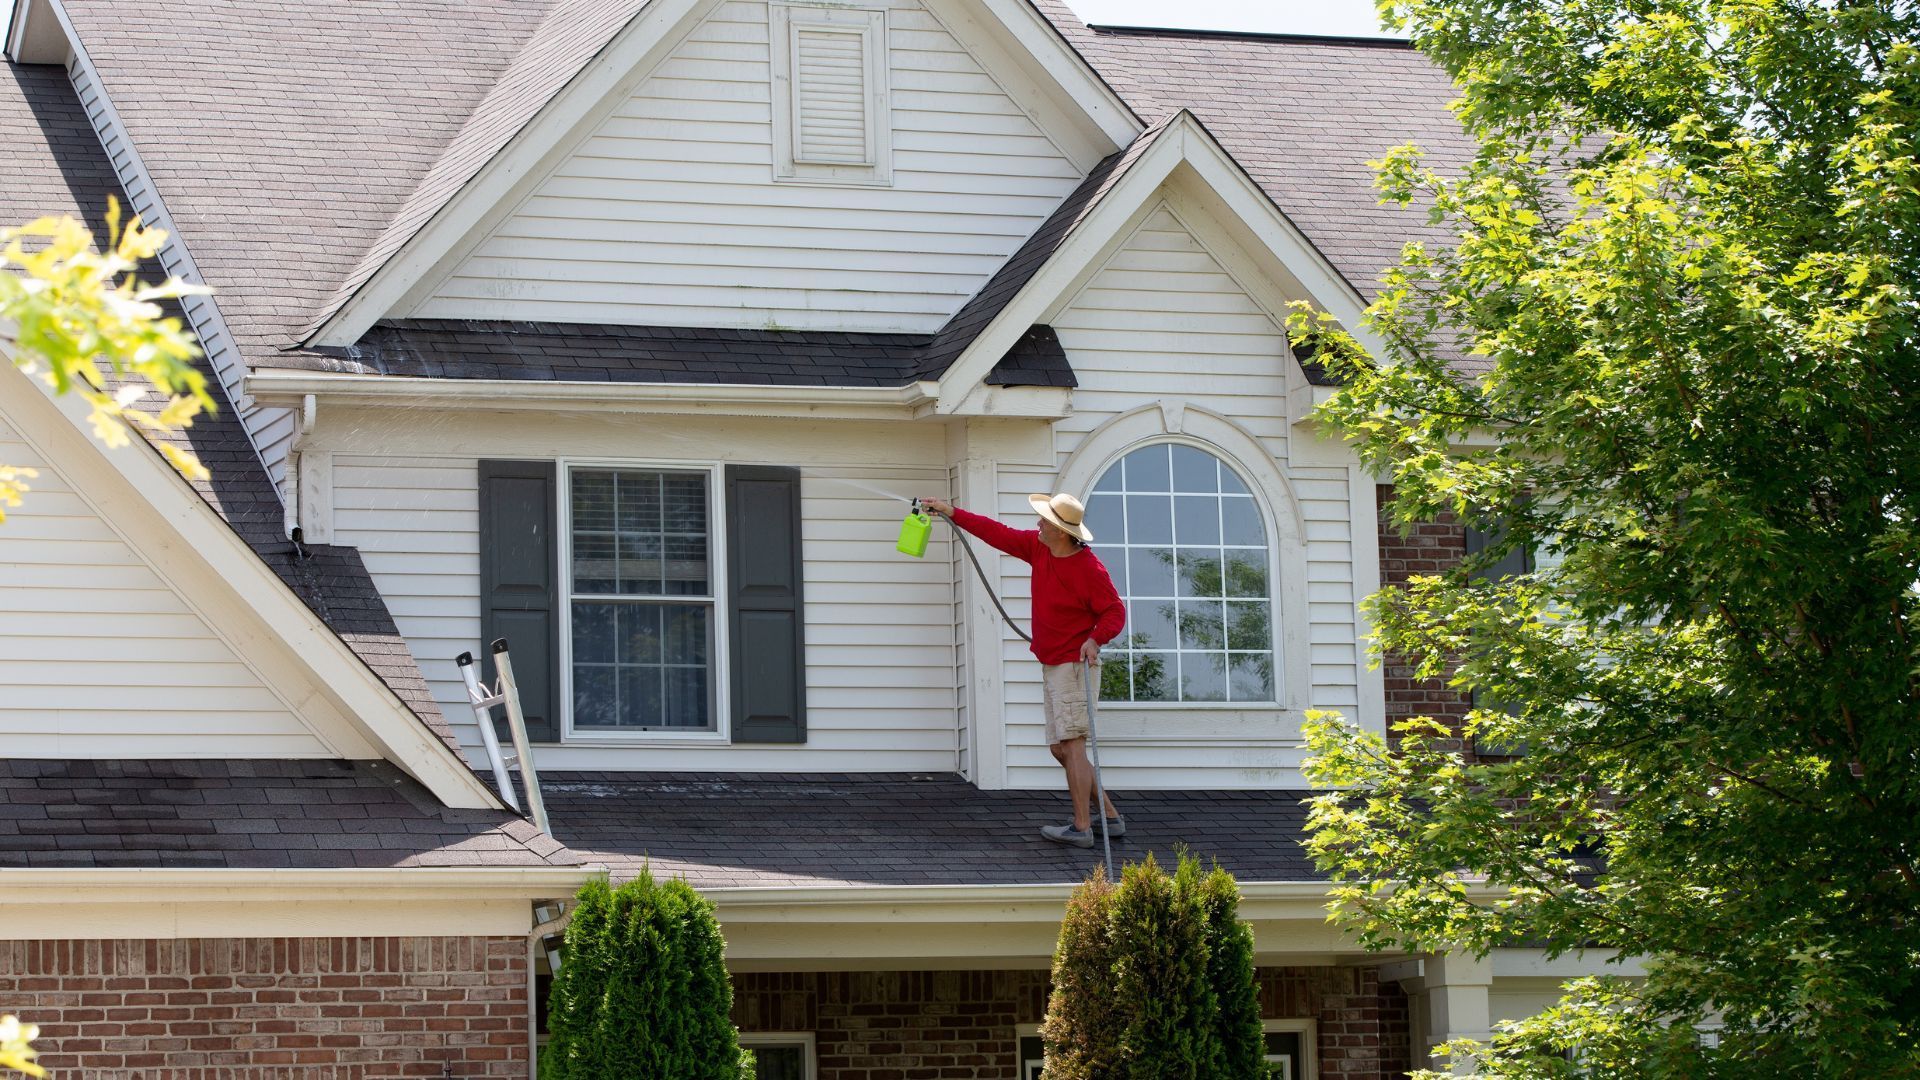
You know what drives me absolutely crazy? Walking into someone's home and seeing a "fresh" paint job that's already showing cracks, gaps, and peeling after just a year or two. Nine times out of ten, the problem isn't the paint quality or even the application technique - it's that whoever did the job skipped the most important step: proper caulking and sealing.
I've been painting homes and businesses across East Tennessee for years now, and I can tell you that caulking and sealants are literally the foundation that everything else builds on. Without them, you're basically throwing money at a problem that's going to come back and bite you.
But here's the thing - most people don't understand what good caulking and sealing actually involves. They think it's just squirting some white stuff into a few cracks and calling it a day. That's like thinking cooking is just throwing ingredients in a pot. The devil is absolutely in the details.
Why Caulking and Sealants Matter More Than You Think
Let me paint you a picture (pun intended). You've just spent thousands of dollars on a beautiful new paint job. Everything looks perfect. Fast forward eighteen months, and you're starting to see hairline cracks around your trim, gaps appearing where your baseboards meet the wall, and maybe some peeling around windows.
What happened? Water got in. Air got in. Your house moved and shifted like houses do, and because there wasn't proper flexible sealing in place, your paint job couldn't handle the stress.
See, paint is designed to be a protective and decorative coating, but it's not a structural sealant. When you have gaps and cracks, paint just bridges over them like a thin skin. The first time your house expands and contracts with temperature changes, that thin skin cracks. Then moisture gets behind it, and you're looking at peeling, mold, and potentially even wood rot.
The Real Cost of Skipping This Step
I've had customers call me saying, "We just want you to repaint this room quickly and cheaply." Then I get there and see that the "quick" paint job they had done two years ago is failing because nobody did the prep work properly.
Here's the math: You can spend an extra $500-800 upfront on proper caulking and sealing (which, by the way, is often included in a quality paint job), or you can spend $3,000-5,000 in two to three years redoing the whole thing when it fails prematurely.
One customer in Knoxville learned this the hard way. They hired the cheapest painter they could find for their kitchen remodel. No caulking around the new cabinets, minimal prep work. Within 18 months, they were seeing separation lines everywhere, and moisture was getting behind the paint near the sink area. They ended up calling us to fix it, and the repair work cost more than a proper job would have in the first place.
Understanding Different Types of Caulk and When to Use Them
Not all caulks are created equal. This is where a lot of DIY jobs go wrong - people grab whatever's cheapest at the hardware store without understanding what they actually need.
Latex Acrylic Caulk (Painter's Caulk)
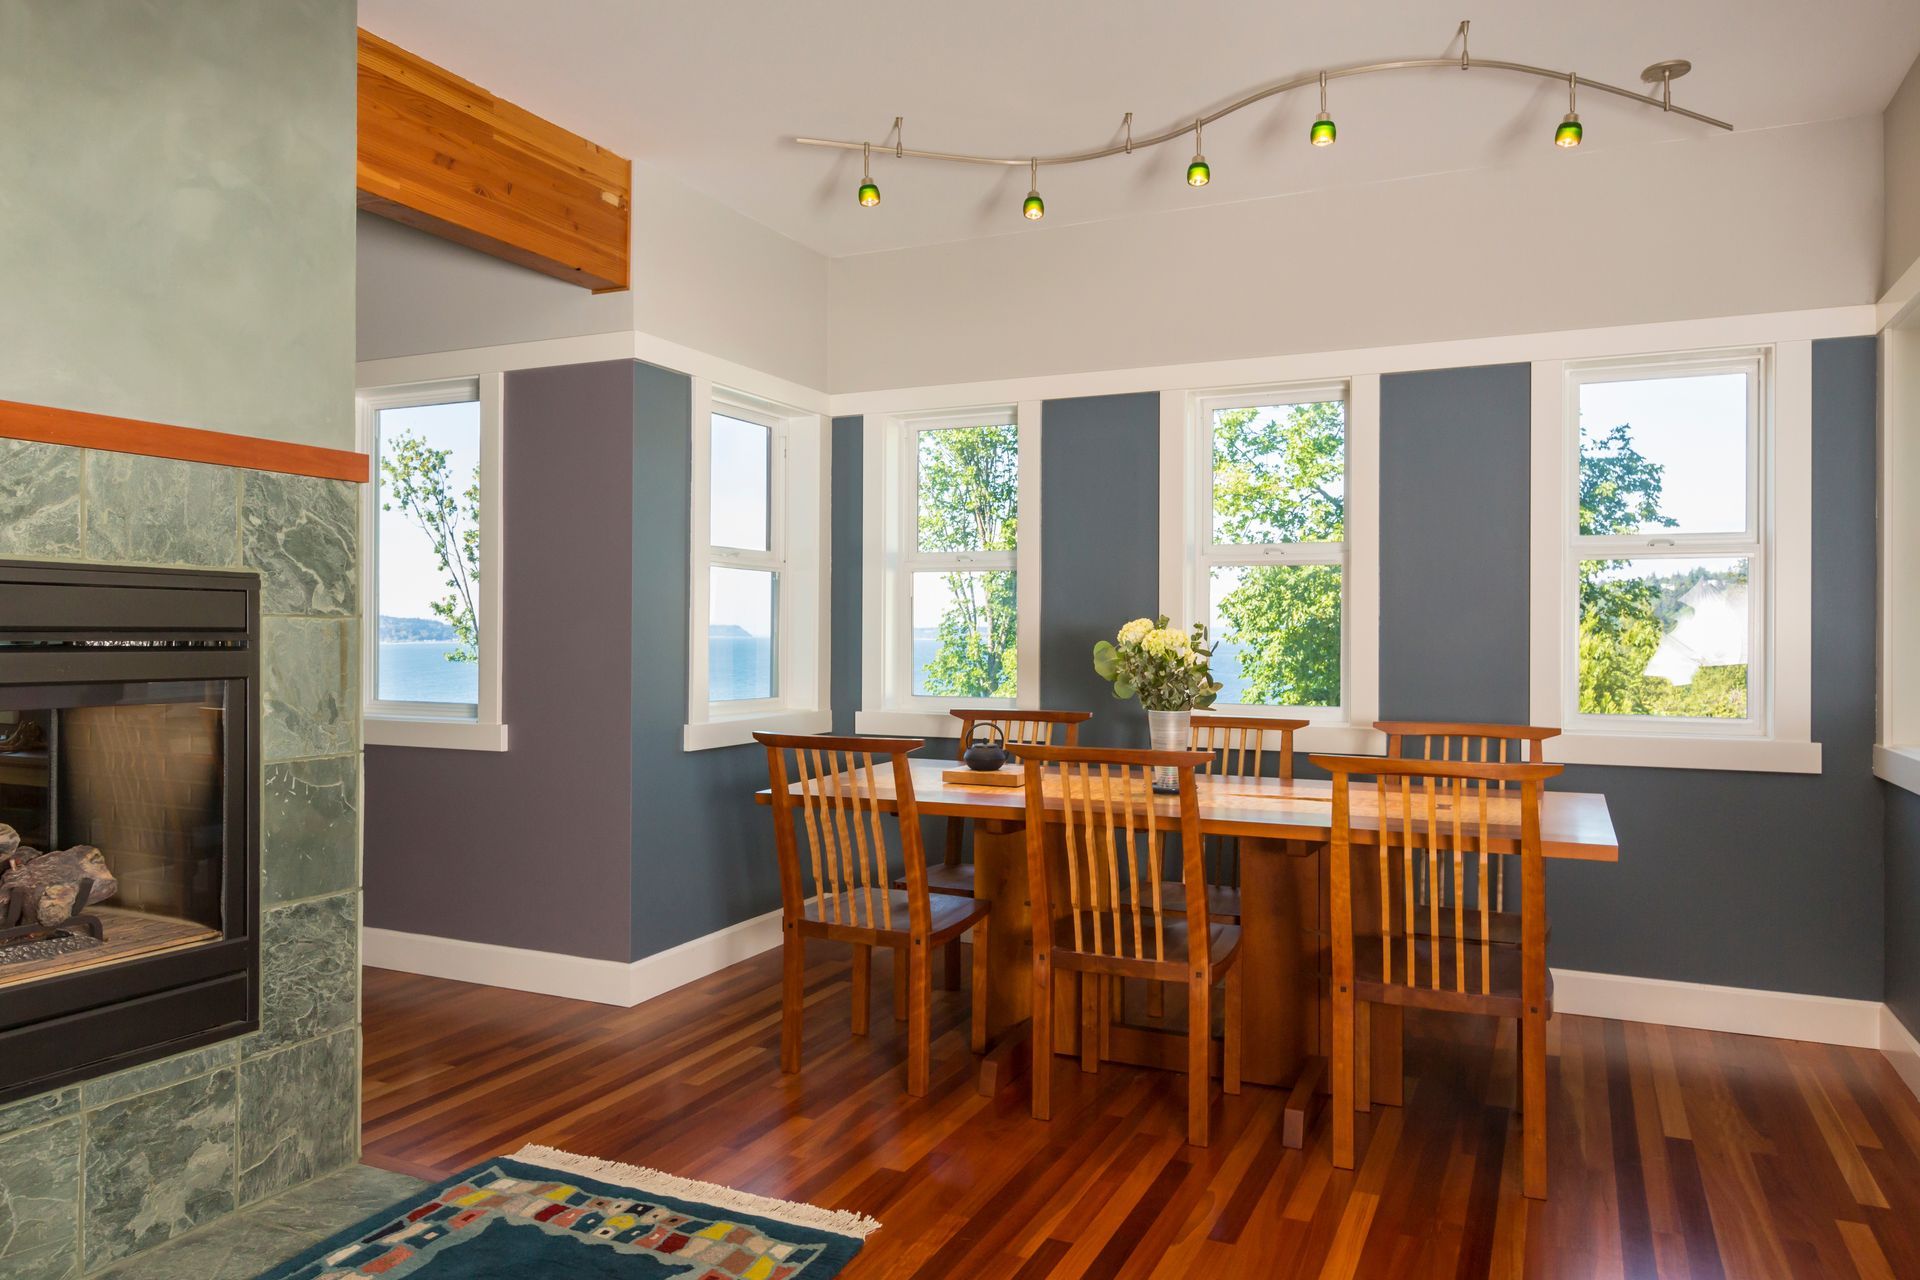
This is your basic, everyday interior caulk. It's paintable, easy to work with, and cleans up with water. We use this for most interior trim work - baseboards, crown molding, door casings where they meet the wall.
Where it works great:
- Interior trim and molding
- Small wall cracks
- Areas that don't get wet
- Situations where you need exact color matching
Where it doesn't work:
- Bathrooms or kitchens near water sources
- Exterior applications
- Areas with lots of movement or expansion
The thing about basic latex caulk is that it can get rigid over time. It'll do the job for interior work, but don't expect it to last forever in high-stress areas.
Acrylic Latex Plus Silicone
This is the step up that's worth paying for. The added silicone gives it flexibility and longevity. For interior painting projects, this is my minimum standard. It costs maybe a dollar more per tube than basic latex, but it'll last years longer.
Why I prefer this for most interior work:
- Stays flexible longer than straight latex
- Still paintable
- Better adhesion
- Usually comes with a longer warranty
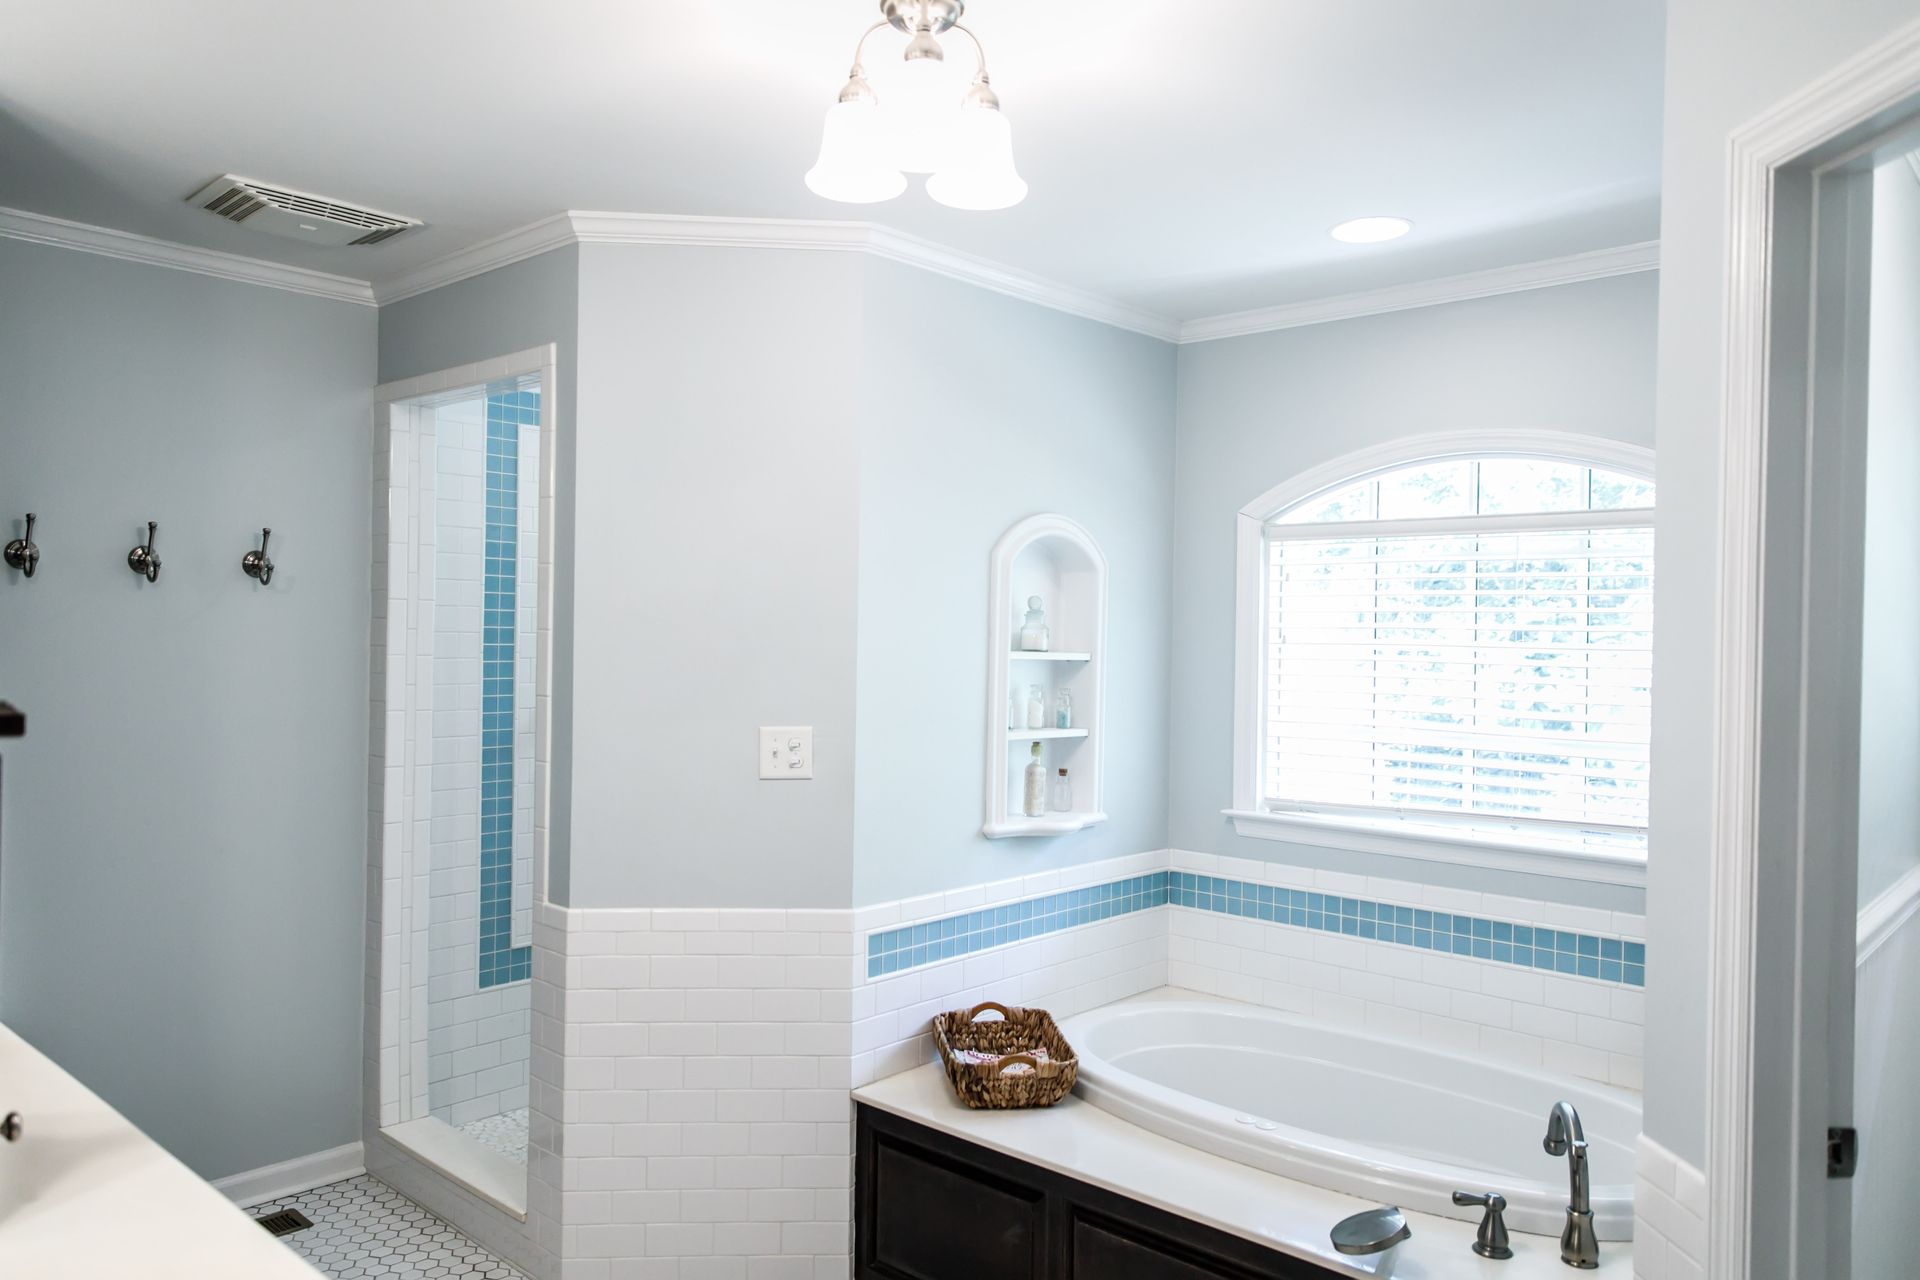
Silicone Sealant
This is the heavy-duty stuff. 100% silicone is incredibly flexible, completely waterproof, and lasts basically forever. The downside? Most silicone isn't paintable. Once it's down, that's the color you're stuck with.
Where silicone is non-negotiable:
- Bathtub and shower surrounds
- Kitchen backsplashes
- Exterior windows and doors
- Any area with significant moisture or movement
Important note: If you're planning to paint over an area, don't use silicone unless you're 100% sure it's a paintable variety. I've seen too many paint jobs ruined because someone used regular silicone thinking they could paint over it later.
Premium Sealants
When you get into the $8-15 per tube range, you're looking at high-performance sealants with special additives. These might be elastomeric compounds, polyurethanes, or hybrid formulations. They're worth it for challenging applications.
When to invest in premium sealants:
- Exterior trim that sees extreme weather
- Areas where different materials meet (wood to brick, wood to metal)
- Historical homes with lots of movement
- Commercial applications where longevity is crucial
I used a premium polyurethane sealant on a historic home in Gatlinburg where the wood trim was constantly expanding and contracting. Three years later, it still looks perfect while the homeowner's neighbors are dealing with failed caulk lines.
The Professional Application Process
Here's where experience really matters. Anyone can squeeze caulk out of a tube, but getting it to look professional and last for years? That's a skill.
Surface Preparation (The Step Everyone Skips)
Before any caulk goes down, everything has to be clean, dry, and properly prepared. This means:
Removing old caulk completely. Not just the loose pieces - all of it. Old caulk prevents new caulk from adhering properly. I use specialized removal tools and sometimes solvents to get every bit.
Cleaning the area thoroughly. Dust, grease, soap residue - anything that could interfere with adhesion has to go. For kitchens and bathrooms, I often use degreasing agents.
Checking for damage. If there's wood rot or other structural issues, caulk isn't going to fix it. These problems need to be addressed first.
Priming when necessary. Some surfaces need primer before caulking for optimal adhesion, especially if we're dealing with different materials or previously painted surfaces that might have compatibility issues.
The Art of Application
Getting a perfect caulk line isn't just about having steady hands, though that helps. It's about understanding pressure, angle, and timing.
Cutting the tip correctly. The angle and size of the cut determines how the caulk flows. Too big and you get a messy blob. Too small and you can't fill the gap properly. For most interior work, I cut at a 45-degree angle with an opening slightly smaller than the gap I'm filling.
Maintaining consistent pressure and speed. This is where experience shows. Rookies speed up and slow down, creating thick and thin spots. The gun pressure has to match your movement speed perfectly.
Tooling the joint immediately. You have maybe 30 seconds to a few minutes (depending on the caulk) to smooth the line before it starts to skin over. I use specialized tools for different applications, but sometimes a wet finger works best.
Clean-up while wet. Any caulk that gets where it shouldn't needs to come off immediately. Once it's cured, you're looking at scraping and possibly damaging surfaces.
Timing with Paint Application
This is crucial: caulk before you paint, not after. Here's why:
Caulk needs a clean surface to bond to. If you paint first, the caulk is bonding to the paint, not the underlying surface. Paint can fail, taking your caulk with it.
Paint over caulk creates a unified appearance. When the caulk and surrounding surfaces are the same color, your eye can't detect the transition. It looks like one continuous surface.
Proper cure time is essential. Most acrylic caulks need 24 hours to cure before painting. Silicone needs even longer if you're using a paintable variety. Rush this step and you'll get poor paint adhesion or cracking.
Common Mistakes That Cost You Money
After years of fixing other people's mistakes, I've seen every possible way to screw up caulking. Here are the big ones:
Using the Wrong Caulk for the Application
I can't tell you how many times I've seen latex caulk in shower surrounds or regular silicone used where someone wanted to paint. Know your materials, or hire someone who does.
Applying Over Dirt or Old Caulk
This is the number one failure point. If the surface isn't clean and properly prepared, the best caulk in the world won't stick properly.
Creating Too Thick or Too Thin Lines
Thick lines look amateurish and are more likely to crack or pull away. Thin lines don't provide adequate coverage. The line should be proportional to the gap you're filling.
Not Tooling the Joint
Caulk straight from the gun looks terrible and doesn't seal properly. It has to be smoothed and shaped to create a proper seal and professional appearance.
Painting Too Soon
I've seen people paint over caulk that's still wet because they're in a rush. The result is always poor adhesion and early failure.
Ignoring Weather Conditions
Caulk doesn't cure properly in extreme temperatures or high humidity. There's a reason we sometimes delay jobs when conditions aren't right.
Why This Matters in East Tennessee
Our climate here in East Tennessee puts extra stress on caulking and sealants. We get hot, humid summers and cold winters. Houses expand and contract significantly with these temperature swings.
Humidity challenges: High humidity slows cure times and can cause some caulks to stay soft longer than they should. This affects how soon we can paint and how well the final job performs.
Temperature swings: A 40-50 degree temperature difference between summer and winter means your house is constantly moving. Flexible sealants aren't just nice to have - they're essential.
Moisture from mountain weather: East Tennessee gets its share of rain and snow. Any gap in your exterior envelope is an invitation for water damage.
Historical homes: A lot of homes around here are older, which means more movement and settling. Standard caulks often fail in these applications.
I've learned to adjust my material choices and techniques based on these local conditions. What works in Arizona might not work in Gatlinburg.
The Long-Term Value of Doing It Right
When you invest in proper caulking and sealing, you're not just protecting your paint job. You're protecting your entire investment in your home.
Energy efficiency: Proper sealing reduces air infiltration, which can lower your heating and cooling costs. I've had customers report noticeable differences in their energy bills after we sealed up their homes properly.
Preventing moisture damage: Water is the enemy of everything in your house - wood, drywall, insulation, electrical systems. Good sealing is your first line of defense.
Maintaining property value: A home that shows signs of poor maintenance (like failed caulk lines) sends a message to potential buyers. Quality work maintains and enhances value.
Reducing maintenance frequency: Properly sealed surfaces last longer between paint jobs. Instead of repainting every 3-4 years, you might go 7-10 years with the right prep work.
What to Look for in a Professional
Not every painter understands the importance of proper caulking and sealing. When you're interviewing contractors, here are the questions to ask:
What type of caulk do you use and why? They should be able to explain their material choices based on your specific application.
How do you handle surface preparation? They should talk about cleaning, removing old caulk, and checking for damage.
What's your cure time before painting? Anyone who says they can caulk and paint the same day is cutting corners.
Can I see examples of your caulk work? Look at the trim lines in their photos. Are they clean and straight? Do the colors match properly?
What's your warranty on the work? A painter confident in their prep work should stand behind it.
When DIY Makes Sense (And When It Doesn't)
I'm not one of those contractors who tells everyone they need to hire a professional for everything. Some caulking jobs are absolutely DIY-friendly:
Simple interior touch-ups: If you have a few small gaps around trim that just need filling, and you're willing to take the time to do it right, go for it.
Single-room projects: If you're repainting one room and just need to address some basic trim work, it's a good learning experience.
Areas where perfection isn't critical: Storage rooms, basements, or other utility areas where appearance is less important.
When you have time to practice: Caulking is a skill that improves with practice. If you have time to experiment and redo mistakes, it can be rewarding.
But call the professionals for:
Exterior work: Weather resistance is too important to risk on inexperience.
Bathrooms and kitchens: Moisture problems from failed caulk are expensive to fix.
Historical or high-value homes: The risk of damage isn't worth the savings.
Large projects: The time investment might not be worth it, and consistency across a whole house is challenging.
Areas where you can't afford failure: Main living spaces where appearance and longevity matter.
The Whoa Paintings Difference
When you work with us, caulking and sealing aren't afterthoughts - they're integral parts of our process. We take the time to assess each area of your project and choose the right materials for the job.
Our approach:
- Thorough surface preparation and damage assessment
- Material selection based on specific applications and conditions
- Professional application techniques developed over years of experience
- Proper cure times before painting - we don't rush the process
- Attention to detail that shows in the finished product
What sets us apart:
- We communicate in multiple languages (English, American Sign Language, Spanish, Haitian Creole, Portuguese) to ensure clear understanding
- Family-owned business that treats your home like our own
- Comprehensive guarantees because we stand behind our work
- Experience with East Tennessee's unique climate challenges
The Bottom Line
Great paint jobs start with great prep work, and great prep work includes proper caulking and sealing. It's not the most glamorous part of painting, but it's what separates work that lasts from work that fails.
When you invest in quality caulking and sealing, you're not just buying a service - you're buying peace of mind. You're buying protection for your investment. You're buying years of additional life from your paint job.
Ready to experience the difference that proper preparation makes?
At Whoa Paintings, we understand that every detail matters when it comes to protecting and beautifying your East Tennessee home. Our comprehensive approach to caulking and sealing ensures that your paint job will not only look amazing when we're done, but will continue to protect and enhance your property for years to come.
Contact us today:
- Call or Text: (865) 382-9880
- Serving: All of East Tennessee including Knoxville, Gatlinburg, Pigeon Forge, Maryville, Sevierville, and surrounding areas
- Languages: English, American Sign Language, Spanish, Haitian Creole, Portuguese
What we offer:
- FREE comprehensive estimates that include detailed prep work assessment
- Quality craftsmanship with materials selected for East Tennessee conditions
- Family-owned reliability with professional expertise
- Complete guarantees on our work
- Personalized service that works with your schedule and budget
Don't let poor preparation ruin your investment. Let us show you what a difference proper caulking and sealing can make in the longevity and appearance of your paint job.
Whoa Paintings, LLC is a family-owned painting company serving all of East Tennessee. We specialize in both residential and commercial projects, with a focus on quality craftsmanship, proper preparation, and customer satisfaction. Our commitment to excellence shows in every detail, from the initial prep work through the final brush stroke.